Introduction
Everyone has surely watched a movie about the future at least one time in their life. As for me, I have watched plenty of them and there are a lot of really good ones. But how good and funny it was to watch a movie about the adventures of Marty McFly and how disappointing it was when 21 October 2015 came true. We are the generation who have the opportunity to welcome the future that we saw in the childhood movies. Usually it's not nearly as good as we imagined, but it's only our fault. Today we have all the necessary tools to make those dreams real.
The tool we needed is called: Internet of Things (IoT). The main idea of this technology is to connect different devices together to allow them to communicate with each other and control or be controlled by other devices. Using this technology, we can start from some basic things and connect our home devices one by one into one ecosystem. And at the end we will have a system similar to the ones we saw in the movies, when we have an AI assistant who understands voice commands and can control home devices and functions. And since we still have some time before 2029, let's start the Skynet implementation.
Required things
Below is the list of hardware parts that we will need to implement a basic setup:
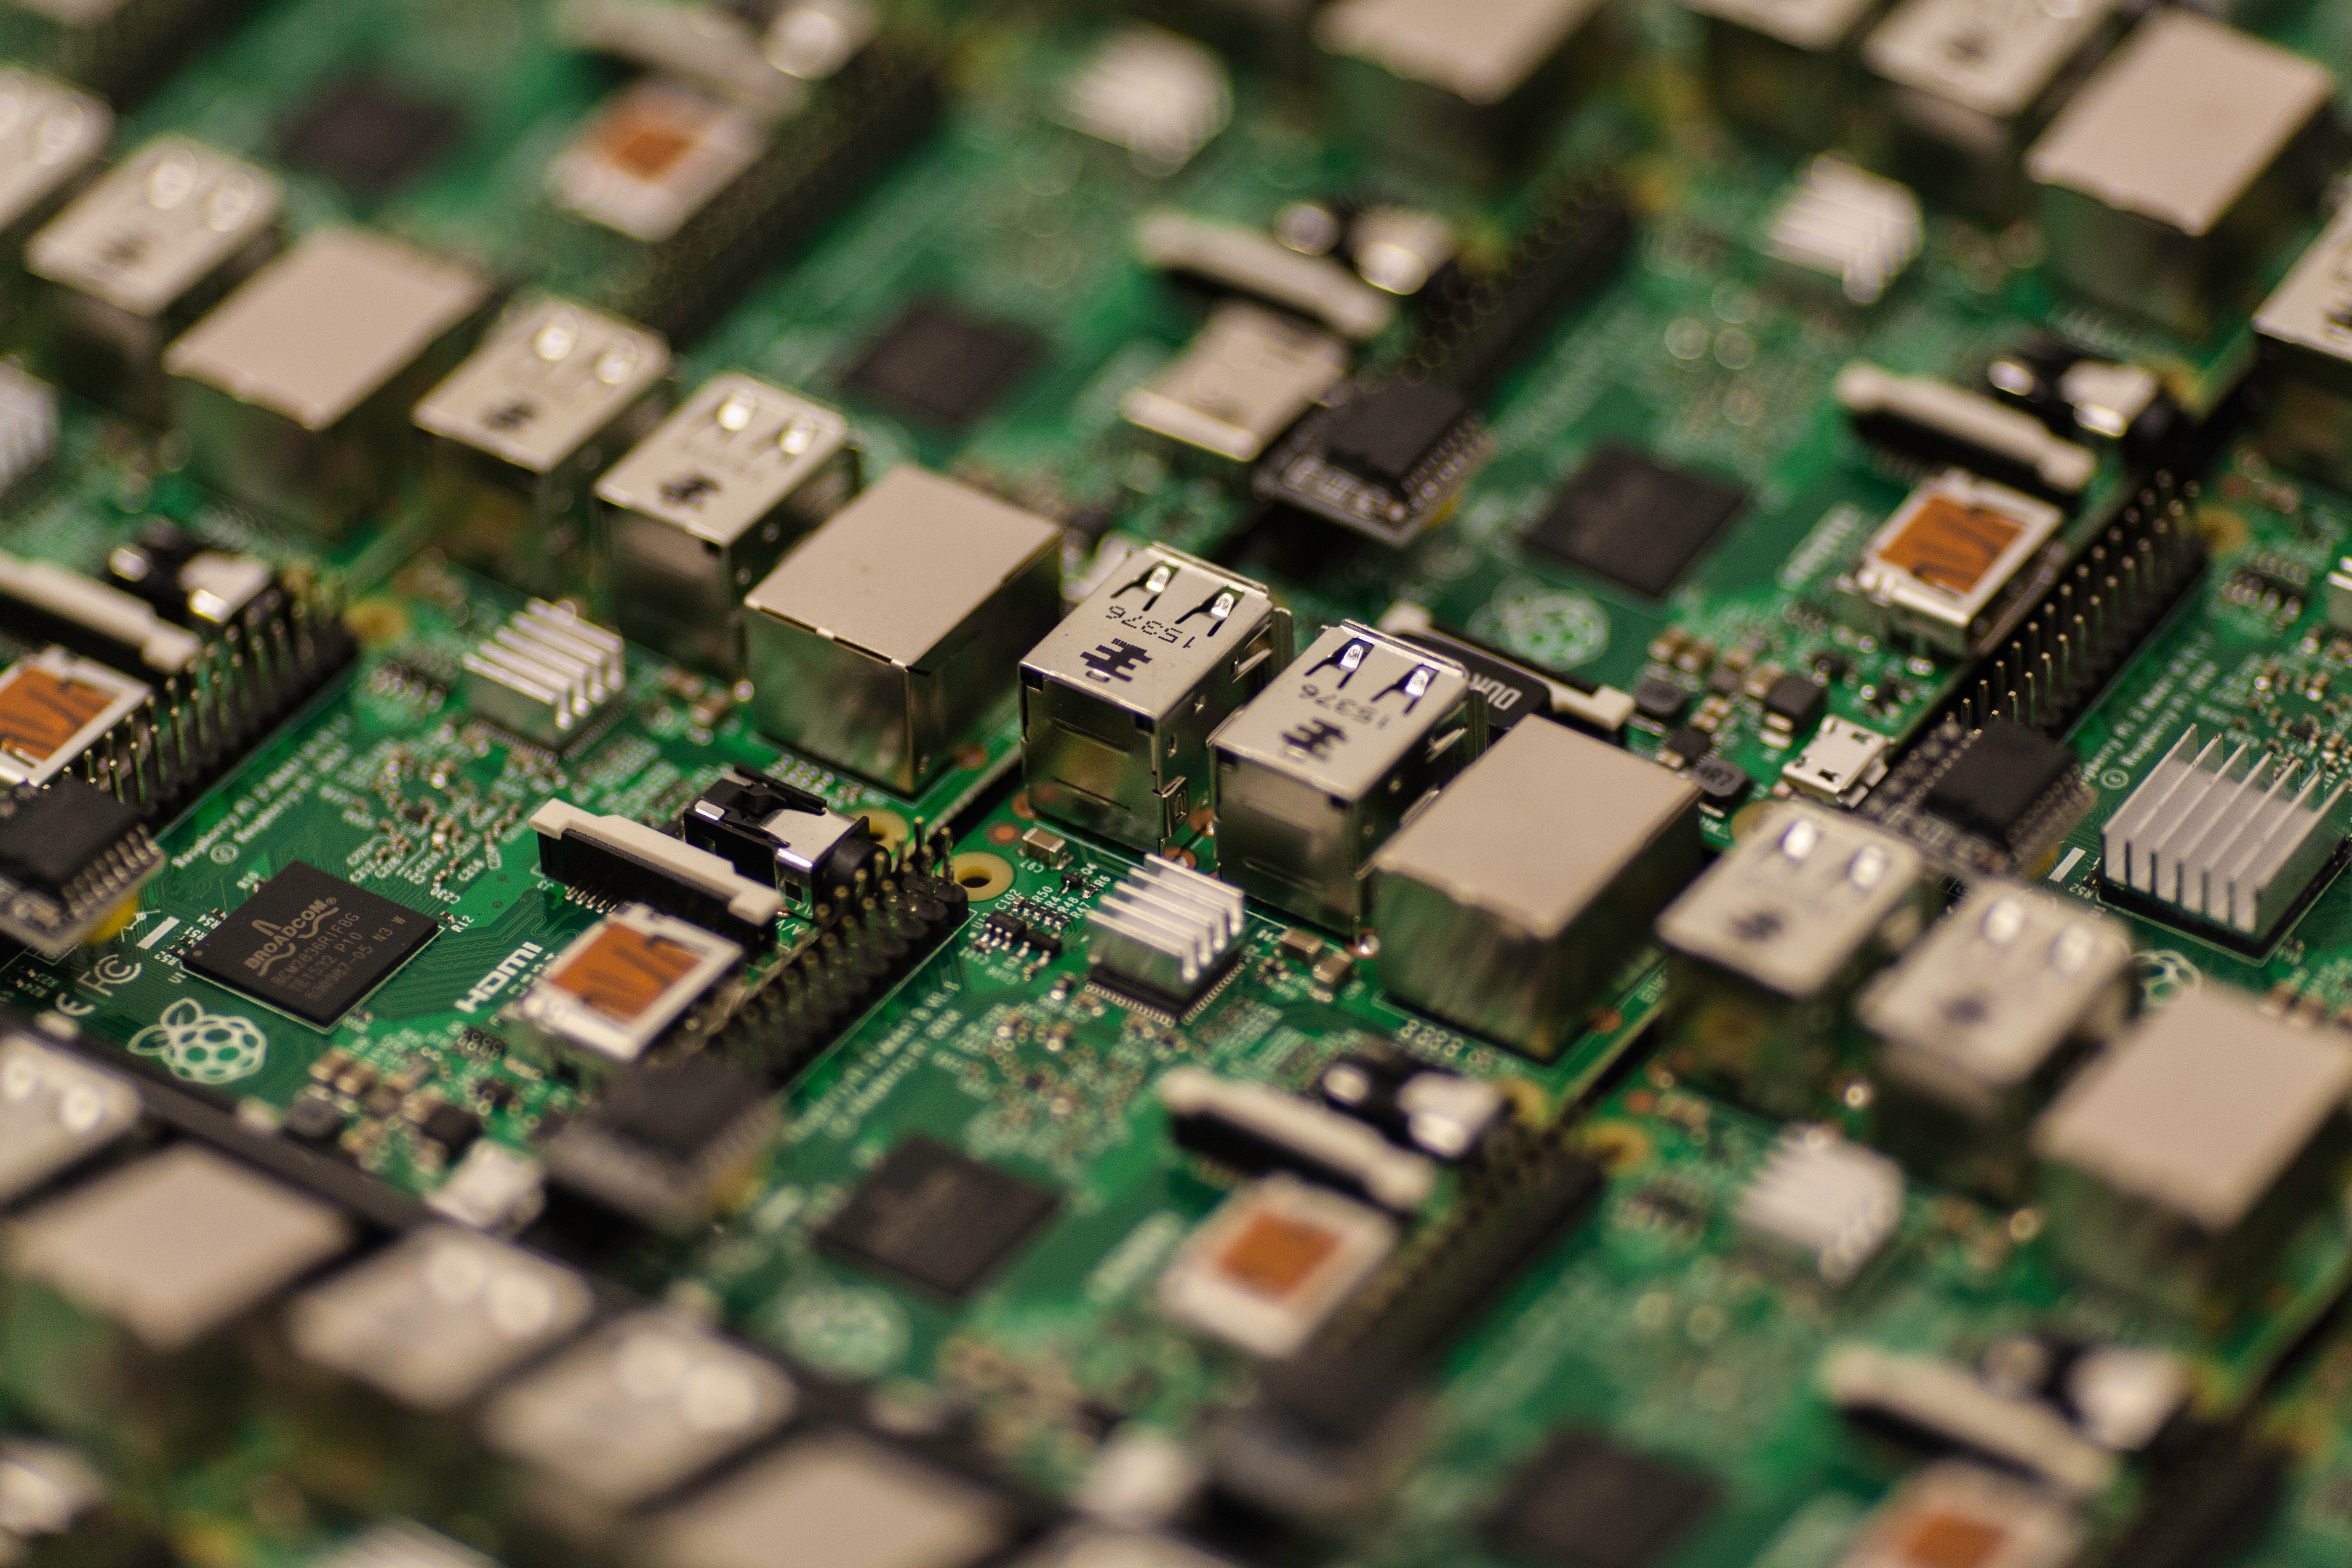
Raspberry Pi 3 Model B
The Raspberry Pi series of single-board computers. Initially they were developed to promote teaching basic computer science in schools, but then became more popular than expected. In this article I will use Raspberry Pi 3 Model B, but with very few changes you can implement the same functions on all other models.
PIR HC SR 501 Sensor
Passive infrared sensor (PIR) is an electronic sensor that measures infrared (IR) light radiating from objects in its field of view. Here is the picture of how our sensor looks like (source of the image):
A little bit strange, isn't it? A movement detector with a turtle shell. I will give you a basic explanation of how it works and why we need such construction. This motion sensor consists of a fresnel lens (the turtle shell), an infrared detector (lies under the shell), and supporting detection circuitry. The lens on the sensor focuses any infrared radiation present around it towards the infrared detector. Our bodies generate heat, and as a result, this heat is picked up by the motion sensor. The sensor outputs a 5V signal for a period of one minute as soon as it detects the presence of a person. It offers a tentative range of detection of about 6–7 meters and is highly sensitive. When the PIR motion sensor detects a person, it outputs a 5V signal to the Raspberry Pi through its GPIO.
USB Web Camera or Camera V2 module
You can use a USB web camera or Camera V2 module, whichever you like. Usually the Raspberry Camera module provides a better quality, but a USB camera is a little bit easier to use and connect.
Jumper Cables (Female-Female)
Those cables are needed to connect different devices to Raspberry. If you are using a web camera, then you will need only three jumper cables.
Raspberry Pi Setup
If you have already used your Raspberry and already installed an operating system on it, then you can skip this part. If you have a brand new Raspberry, then you need to prepare it. In this article we will use Raspbian – our official operating system for all the models of the Raspberry Pi. If you are new to programming or not familiar with Raspbian installation process, then you can use NOOBS (New Out Of Box Software), here you can find a guide how to get and deploy NOOBS. Or you can install the Raspbian operating system manually.
After the installation, I recommend to run two commands in the terminal:
sudo apt-get update
to update your system's package list, and then
sudo apt-get dist-upgrade
to upgrade all your installed packages to their latest versions. Generally speaking, doing that regularly will keep your installation up-to-date, in that it will be equivalent to the latest released operating system version.
Working with PIR sensor
Connecting
Now Raspberry is ready and we can connect our sensor to it. We will need three jumper cables and Raspberry pin mappings (source of the image).

- Yellow pins: 3.3 Volts power (3.3V PWR);
- Red pins: 5 Volts power (5V PWR);
- Black: Ground (GND);
- Orange: GPIO (general-purpose input/output) pins.
As you can see, each GPIO pin has a number (inside the orange rectangle) it's also known as BCM (Broadcom SOC channel) numeration and also each Raspberry pin has an independent physical (Board) index (in the gray square). BCM indexes can go in different order in two different models of Raspberry, so we will use Board index of pins (in gray square) because they are more reliable.
Our sensor has three pins: Input Power, Output Signal, Ground. So, for example, we can use the 2nd Raspberry pin for the power input, 9th for the ground and 7th for the data output.

And then connect the other sides of those cables to the sensor. The pins of the detector go in that order (source of the image):

After that our sensor is ready and we can proceed and write a script to monitor the sensor signal.
Writing code
To create a Python script you can use any text editor you like. I use IDLE. Our script will be pretty simple:
import RPi.GPIO as GPIO
import os
import sys
import time
import subprocess

SENSOR_PIN = 7

GPIO.setwarnings(False)
GPIO.setmode(GPIO.BOARD)

GPIO.setup(SENSOR_PIN, GPIO.IN)

while True:
  signal = GPIO.input(SENSOR_PIN)
  if signal == 0:
    print("Nothing")
    time.sleep(0.1)
  elif signal == 1:
    print("Intruders detected")
    time.sleep(0.1)
Here is a detailed script description. The first five lines are needed to import Python modules, one of them – RPi.GPIO is used to work with Raspberry GPIO pins. After importing all the needed modules, we declare the variable SENSOR_PIN and make it equal to seven. It's not a "magic number", seven is the number of the port which we used to connect with our sensor output pin. Next we set GPIO module in GPIO.BOARD mode. There are two available modes for GPIO:
GPIO.BOARD GPIO.BCM
The GPIO.BOARD option specifies that you are referring to the pins by the number of the pin – i.e. the numbers printed on the board, on our previous picture – it's the number in the gray square.
The GPIO.BCM option means that you are referring to the pins by the "Broadcom SOC channel" number, these are the numbers after "GPIO". Unfortunately, the BCM numbers change between Raspberry versions and you'll need to find out which ones you have to use here. So that's why we will use GPIO.BOARD mode.
Using the command: GPIO.setup(SENSOR_PIN, GPIO.IN) we set the needed Raspberry pin to work as an input channel. And after that we use an infinite cycle to wait for the input on this pin. If the sensor doesn't detect any movement, it won't send anything to Raspberry and the signal variable will be equal to zero, otherwise it will be equal to one. You can add a few print statements to debug the sensor state and make sure it's working.
Troubleshooting and tuning
If the sensor is not working properly, check the jumper cables and make sure that you connect them to the right pins. Then take a look at two orange potentiometers situated on the opposite side of the pins (look at one of the previous pictures). If you take the sensor in your hand putting its "turtle shell" down and placing those potentiometers closer to you and pins farther, then the left one will be responsible for the distance and the right one – for the time delay.
The distance is pretty obvious: it's the max distance that the detector can "see" the movement from. The distance can vary from 3 to 7 meters. To increase the distance, turn the potentiometer clockwise and anticlockwise – to decrease.
Time delay is the length of the sensor "alarm" signal. In other words, this potentiometer sets the time interval for the sensor to be sending the detection signal to Raspberry. Again, you can increase this value turning potentiometer clockwise or anticlockwise to decrease. Time delay can vary from 0.3 to 600 seconds.
So, if for example your sensor is always signaling, try decreasing the time delay and maybe the distance. Keep in mind the sensor detects the movement not only directly in front of it.
Camera
But to detect the movement is only one part of the deal. Maybe you will want to know not only about the fact that someone or something moved but additionally see who distracted our sensor. To do that, we will need a camera device. You can use a usual USB web camera or Camera V2 module. Camera V2 module allows you to make photos in high resolution. On the other hand, USB camera is easier to connect and use.
USB Camera
To utilize your web camera simply connect it to one of the Raspberry Pi USB ports. After that we need to download fswebcam package. Open the terminal and enter the following command:
sudo apt-get install fswebcam
If you are not using the default Pi user account, you need to add your username to the video group, otherwise you will see 'permission denied' errors.
sudo usermod -a -G video <username>
To make sure the user has been added to the group correctly, use the groups command. Enter the command fswebcam followed by a filename and a picture will be taken using the webcam, and saved to the filename specified:
fswebcam image.jpg
This command will take a picture and save it to the current directory in the file named image.jpg. By default, a camera uses a very low resolution, usually something close to 352×288. To change that, we need to add a parameter to our previous command:
fswebcam -r 1280×720 image2.jpg
I used 1280×720 because it's the highest possible resolution for my web camera, for your device the resolution might be different. Also, as you may have noticed all photos are made with a little banner at the bottom of the image. To remove it, we need to add another parameter to our command:
fswebcam -r 1280×720 –no-banner image3.jpg
Now we have a clean photo in high resolution. But we don't want to take photos manually, we need to train our Raspberry to take photos each time the sensor detects any movement. We can achieve this with three steps. First, create a bash script and place our command inside it. To create a bash script, simply open your text editor and write the following text:
#!/bin/bash

DATE=$(date +"%Y-%m-%d_%H%M")

fswebcam -r 1280×720 –no-banner /home/pi/webcam/$DATE.jpg
Then save it as webcam.sh (you can choose any name you want, just keep .sh extension). This script will take a picture, name the file with a timestamp. The second step, we should make the file executable:
chmod +x webcam.sh
To check this step you can try running your script using the command:
./webcam.sh
The final step: we need to run this script from our Python code when the sensor detects the movement. To do that, we need to modify our sensor Python script.
import RPi.GPIO as GPIO
import os
import datetime
import sys
import time
import subprocess

SENSOR_PIN = 11

GPIO.setwarnings(False)
GPIO.setmode(GPIO.BOARD)

GPIO.setup(SENSOR_PIN, GPIO.IN)

while True:
signal = GPIO.input(SENSOR_PIN)
if signal == 0:
time.sleep(0.1)
elif signal == 1:
time.sleep(0.1)
os.system('/home/pi//webcam.sh')
As you can see, we added the line: os.system('/home/pi//webcam.sh'). This line uses os.system() function to execute the command (a string) in a subshell. As a parameter, we pass the full path to our .sh script.
Run a script at startup
We have our script ready. But in real situations it's not a very good case when you need to manually start your script every time Raspberry is turned on. Maybe you even will not be able to do that. That's why we will setup our script to run automatically on the startup. To do that, you need to open the terminal and run a few commands:
cd ~/.config/lxsession/LXDE-pi
This command will change the current folder to config folder. Then we need to open the autostart file to use the following command:
sudo nano autostart
After that you will see the content of the autostart file on your screen. At the end of the file, add the following lines:
@midori
@python motion_seonsor.py
Replace "motion_seonsor.py " part with the path to your own Python script. After that press: Ctrl+X to exit the editor and press Y when prompted to save changes. Now you can reboot your system and the script will be started automatically.
Conclusion
This construction allows you to track movement and capture the pictures of the movement. All the pictures will be saved on Raspberry Pi disk. We have a few ways to upgrade our project, one of them is to implement an additional way to notify you about the detected movement. We are going to write about it in one of our future articles, remain subscribed – it will be interesting!
